# Modify "Build Settings" of your project_Cordova/Ionic
# Select top project at Project Navigator and select "TestApp_Swift" target at TARGETS pane

# Select "Build Settings" tab and type "Other link" in search box

Then you will see "Other Linker Flags" field. Now, fill this settings by following steps.
- Expand "Other Linker Flags" by clicking the triangle icon left to "Other Linker Flags"

- Select "Debug" item and click to edit/insert value, then type in following text.
-lStaticAppSec_Debug -L$(PROJECT_DIR)/AppSealingSDK/Libraries

- Select "Release" item and click to edit/insert value, then type in following text.
-lStaticAppSec -L$(PROJECT_DIR)/AppSealingSDK/Libraries

Below step is needed only when you launch app in Simulator with Release build. If you don’t need to run your Release build in simulator you can skip this step.
# Configure Build Settings "Architectures – Excluded Architectures"
Search “arch” keyword at Build Settings panel.

Follow next steps after "Architectures" field has shown.
- Expand "Excluded Architectures" by clicking the left-side triangle icon.

- Select "Release" item and click right-side “
+” icon.

- After "Any SDK" item has created click it to show popup menu.

- Select “Any iOS Simulator” item in popup menus.

- Enter value for “Any iOS Simulator SDK” as “arm64 i386”. (Space between arm64 and i386)
Now AppSealing security features have been adopted to your project. Go on ‘Build’, ‘Run’, ‘Archive’ as usual.
# Reminds about Xcode build mode
* AppSealing work differently in debug mode and release mode.
If you build an app in Debug mode, AppSealing`s security features are disabled for convenient development :
Jailbreak detection
Anti-debugging
Not encrypted executable file detection
App-Integrity corruption detection
Re-signing detection
These features are enabled when you build app as Release mode.
You will build the app as Release mode when distributing to the App Store. If you test AppSealing with Release mode, your app should be distributed to App Store or 'TestFlight'. If not, the executable file will be detected as not encrypted, so the app will be closed.
# Generate App integrity & certificate verification snapshot
There is additional process to verify app integrity & certificate when you test your app or distribute app through app store. If you skip this step the app running on device will be terminated after few seconds for broken app integrity.
When distributing app built in Release mode through Development or Ad Hoc it will be terminated for security check which tells the executable has not encrypted by Fairplay DRM so skipping this step will have the same result, but you should process this step when you distribute your app through TestFlight or App Store.
Let’s see the upload process to App Store or TestFlight step by step. Below is Organizer window after Archive from Xcode.

Click “Distribute App” button to generate IPA for uploading to App Store.

Click “Next” button with “App Store Connect” is selected.

You usually selected “Upload” almost but you must select “Export” to apply AppSealing. This is because taking snapshot for app integrity and certificate is needed and your app will not run normally on device without this process. Click “Next” button with “Export” is selected.

Click “Next” button with all options keep default.

With default options retained, click “Next” button. Then you can see the window from which you can export as an IPA.

Verify the brief contents and click “Export” button.

When destination dialog appear select store location and click “Export” button. This document used folder named “~/Downloads/TestApp_Swift_Upload”
After you’ve clicked “Export” button IPA file will be created at the designated folder. You can see the generated IPA file at finder like below. Now, you should keep in mind the location of IPA or remain finder widow opened.

Now you should process next step with exported IPA. Launch terminal app and move to Xcode project folder.

This document used project path for unity-exported Xcode project as “~/Documents/ TestApp_Swift”. You can verify the path name by pwd command like above picture.
Run add permission command like below and open generate_genesis file. (You can open the file by double-clicking it in Finder)
$ chmod +x AppSealingSDK/Tools/*
$ open AppSealingSDK/Tools/generate_genesis
When you first install the SDK and open the generate_genesis file for the first time, the following warning window may appear

In this case, click the OK button to close the window, then go to the settings window and click the “Security and Privacy” item.

Select the “General” tab on the left and click the “Open Anyway” button at the bottom.

Click “Open” button when another confirmation window appears after clicking the “Open Anyway” button.
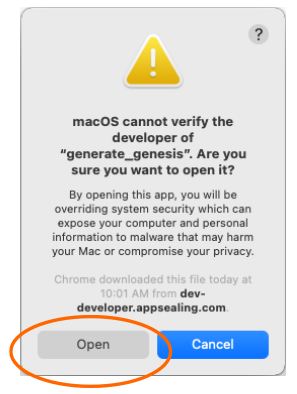
New terminal window will show the execution result of “Open” action, just close the window.

Now you run ‘generate_hash’ script like below. This script has only one parameter which is path to the exported IPA file in previous step. You can type the IPA path manually or drag & drop the IPA file from the opened Finder window in previous step.
$ AppSealingSDK/Tools/generate_hash ~/Downloads/TestApp_Swift_Upload/TestApp_Swift.ipa

After you execute the script you will see the progress like below and snapshot for app integrity and certificate will be added to the IPA file.
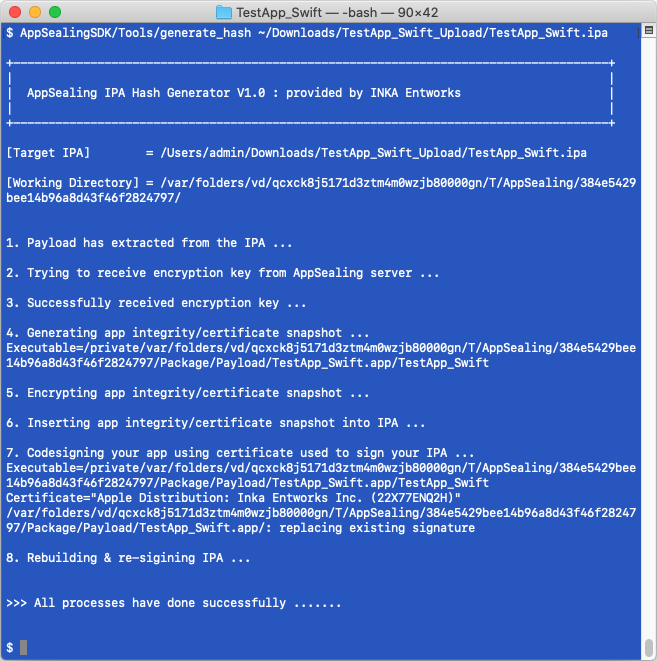
This process has to be applied to distribution step as “Ad Hoc”, “Enterprise”, “Development” identically.
# Upload re-signed IPA to App Store Connect
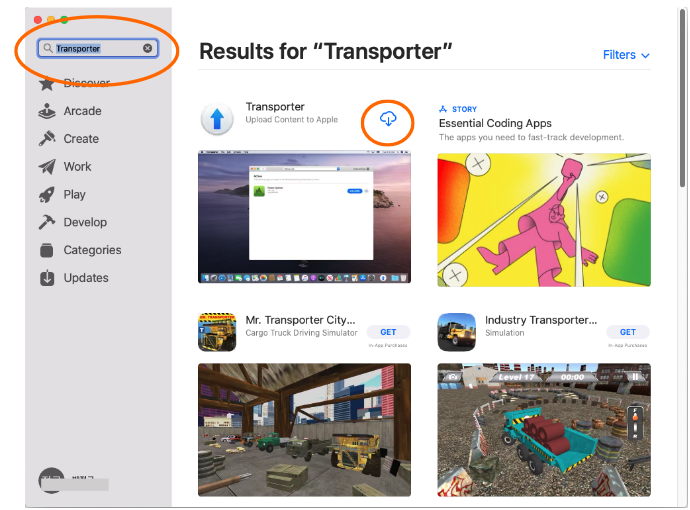
Now you can upload re-signed IPA to App Store Connect. This document uses Transporter app (MAC) for convenient uploading. If the Transporter app has not installed in your MAC you can open Mac AppStore, search “Transporter” and install.
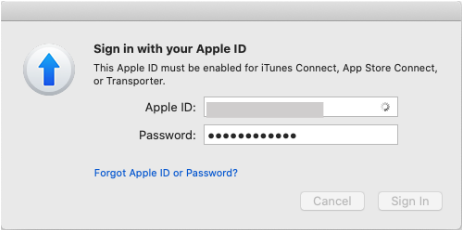
Launch Transporter after installation you are requested for Apple ID like below. Enter your Apple ID and password. (This step is required only once for the first time)
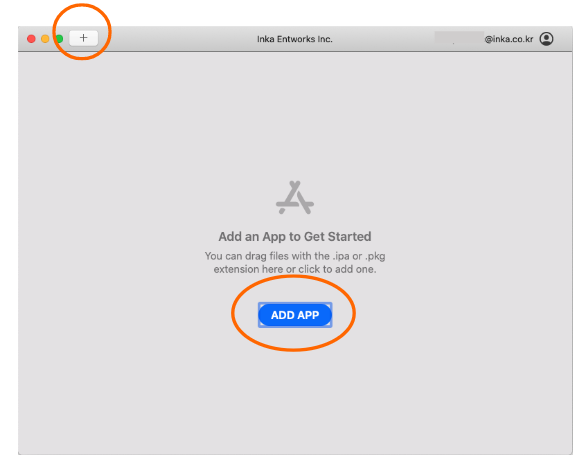
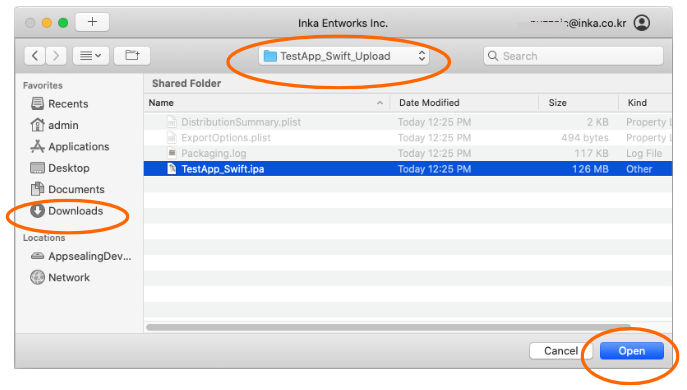
After you login with your ID and password you can see the Transporter window like below. Click the “+” button upper-left or “ADD APP” button in the middle to select IPA to be uploaded and select the re-signed IPA in previous step.
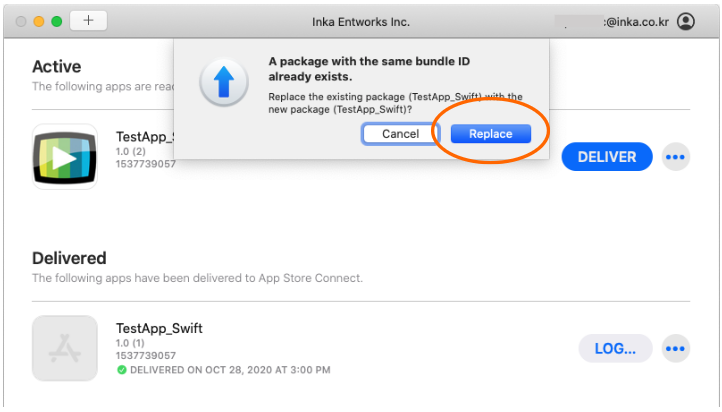
When you update your app by adding IPA file with new version or higher build number a warning dialog can appear like below because of same bundle ID. In this case just click “Replace” button to upload new IPA.
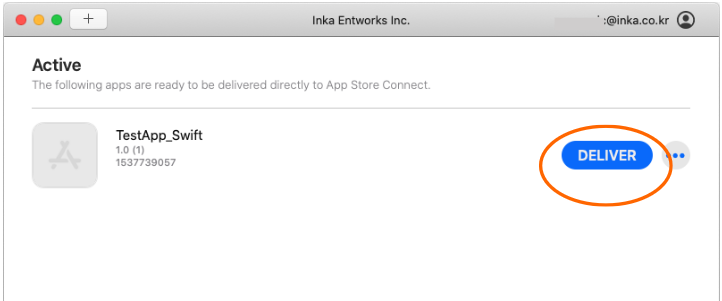
After IPA file has added, click “DELIVER” button then verifying and uploading to App Store Connect process will be in progress.
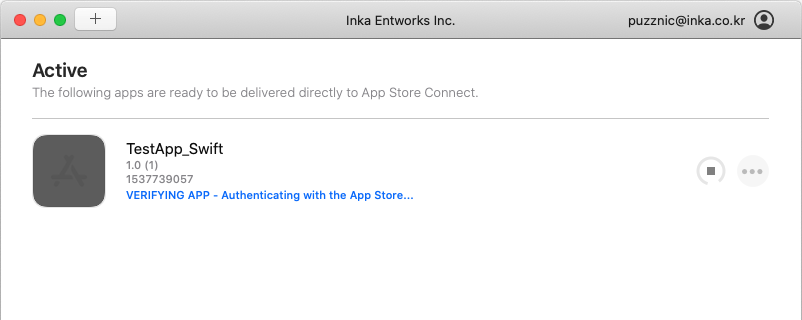
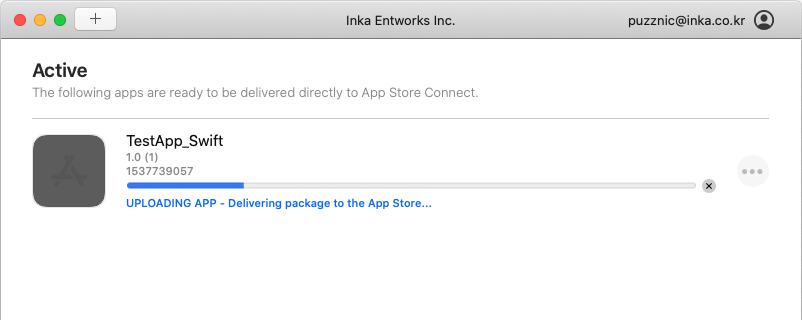
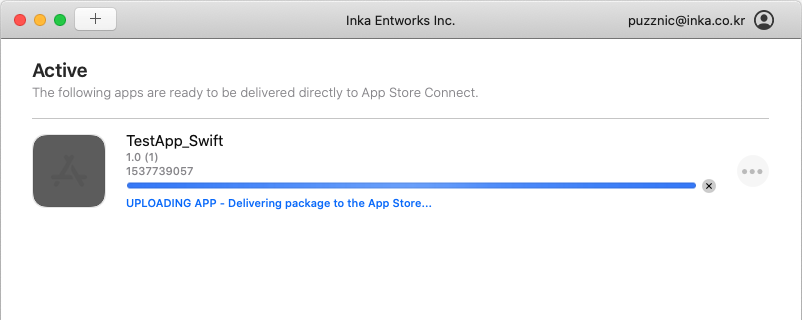
If you encounter below window the upload process has finished and you can submit your build for App Store review or TestFlight distribution.

